Ever noticed a slow drip from your water heater’s relief valve and thought, “Ugh, another thing to fix”? What if that little leak could actually become your next DIY project? Maybe you’re the type who loves turning “oops” moments into creative wins—like using leftover holiday lights for a summer patio vibe or repurposing old jars into rustic decor. But when it comes to something technical like a water heater, it’s easy to feel stuck. Don’t worry, though. By the end of this post, you’ll see how a leaky relief valve isn’t just a nuisance—it’s a chance to craft seasonal decor that’s both clever and functional. We’ll walk you through simple ideas, safety must-knows, and how to make your home improvement projects shine all year round.
Why Your Relief Valve Leaks (And When to Worry)
First off, let’s talk about why that valve’s dripping. Think of your water heater like a giant kettle. When it heats water, pressure builds up inside. The relief valve’s job is to release extra pressure so things don’t get explosive. Sometimes, though, it leaks because of:
- Too much pressure: If your heater’s working overtime, the valve might drip to cool things down.
- Worn-out parts: Valves can get rusty or stuck over time.
- Temperature swings: Cold winters or hot summers can make your heater act up.
If your valve leaks constantly or sprays water, that’s a red flag. Call a pro like HomeCrt to check it out. But if it’s just a slow drip during seasonal changes? You’re probably safe to get creative.
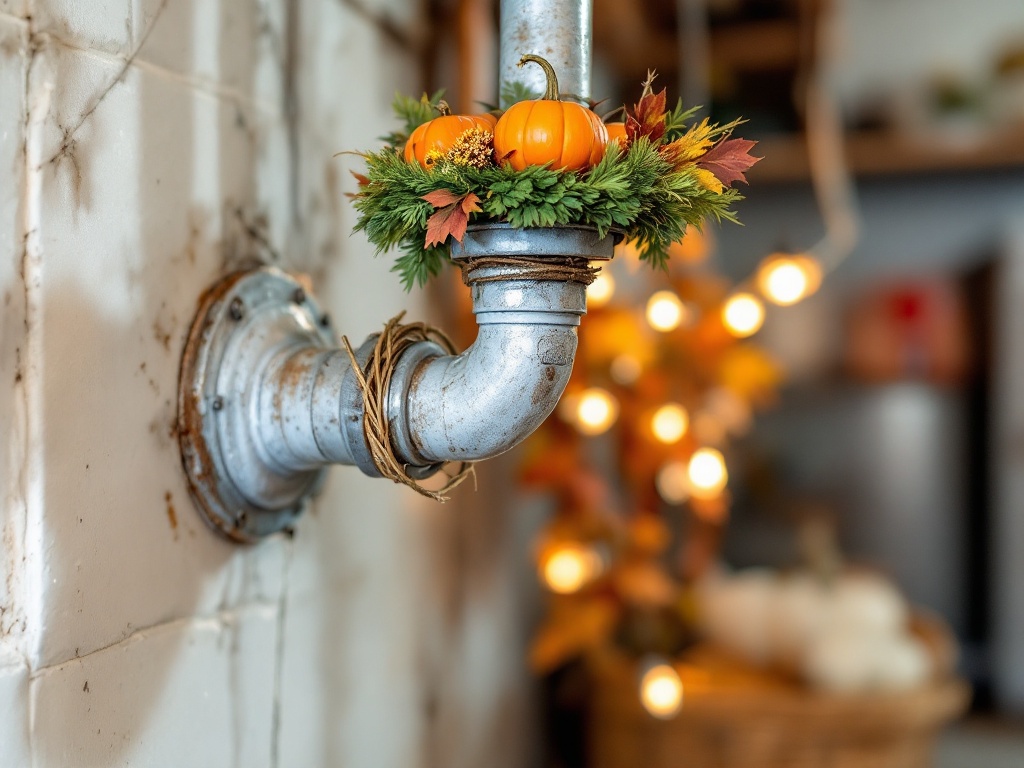
Turning a Leak into a Seasonal Feature
Okay, let’s get to the fun part. Imagine your relief valve’s drip as a mini water feature. Here’s how to channel it into decor:
- Autumn Harvest Trickle: Place a rustic bucket under the valve and let the drip fill it slowly. Add mini pumpkins, pinecones, and fairy lights. The sound of water hitting the bucket feels like a cozy cabin vibe.
- Winter Ice Sculptures: In colder months, let the drip freeze into icicles. Guide the water with a metal tray or angled board to create shapes. Paint the ice with food coloring for a pop of color.
- Spring Rain Chain: Attach a decorative rain chain (like these from Bob Vila) to the valve. The water will trickle down the chain into a planter filled with flowers.
Pro tip: Use a shallow tray under your project to catch excess water. Nobody wants a soggy floor!
Safety First: Keep It Smart, Not Slippery
Before you turn your leak into art, remember: water and electricity don’t mix. Here’s how to stay safe:
- Check for hot water: If the leak’s scalding, skip the DIY. Adjust your heater’s temperature to 120°F or lower.
- Avoid electrical zones: Keep your project away from outlets or cords. Water + plugs = bad news.
- Test the water: If it smells metallic or weird, shut off the heater and call HomeCrt. You might have mineral buildup or corrosion.
Need more safety tips? Family Handyman has a great guide on water heater dos and don’ts.
When to Call It Quits (And Call HomeCrt)
Even the coolest DIY project isn’t worth a flooded basement. If your valve does any of these, stop and pick up the phone:
- Leaks more than a few cups a day
- Makes hissing or banging noises
- Sprays water like a tiny fire hose
At HomeCrt, we’ve helped folks in your shoes for over a decade. Sometimes, a quick fix by our team means you can get back to decorating faster. Plus, we’ll make sure your heater’s safe so your projects stay fun, not frantic.
Wrapping It Up
So there you have it—a leaky relief valve doesn’t have to ruin your day. With a little creativity (and some safety smarts), you can turn that drip into autumn charm, winter magic, or spring flair. Just remember: if things feel off, HomeCrt’s got your back. Now go grab a bucket, some fairy lights, and let that water heater work double duty as your newest decor assistant. Who knew home improvement could be this fun?