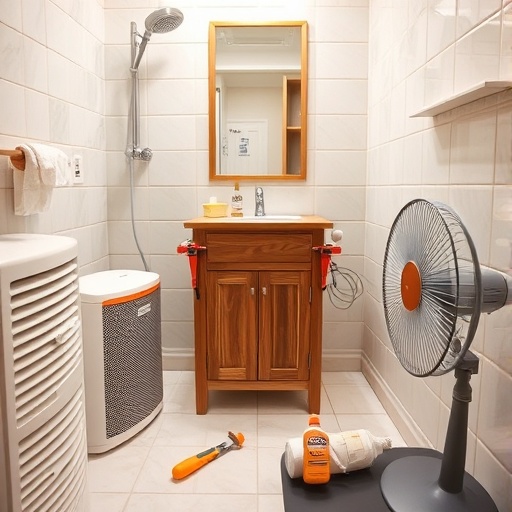
Are you interested knee-deep in a bathroom remodel and wondering why your wood glue feels like it’s taking forever to dry, you’re not alone. Let’s say you’re trying to fix that wobbly vanity or install a cute wooden shelf, but the glue just won’t cooperate. Sound familiar? Bathrooms are tricky—they’re humid, wet, and often cold, which can throw a wrench into your DIY plans. In this guide, we’ll break down how long wood glue *actually* takes to dry in a bathroom, share pro tips to speed things up, and help you avoid those “oops” moments. By the end, you’ll have a rock-solid project that lasts longer than that “quick fix” you tried last time.
Why Wood Glue Acts Differently in Bathrooms
Bathrooms aren’t your average room. The steam from your shower, the splash zone around the sink, and even the chilly tile floors can mess with how glue dries. Imagine this: you’re gluing a wooden trim near the bathtub. If the room’s humid, the glue might stay sticky way longer than the bottle says. Why? Moisture in the air slows down the drying process. Some glues even need to absorb into the wood to work, but if the wood’s damp? Game over. At HomeCrt, we’ve seen folks in older homes (like those classic Chicago brownstones) struggle with this—those drafty windows and uneven heating don’t help!
Picking the Right Glue for a Bathroom Project
Not all glues are created equal. For bathrooms, you want something that laughs in the face of moisture. Here’s the deal:
- Waterproof glue: Look for words like “water-resistant” or “exterior grade.” Titebond III is a crowd favorite—it’s like the superhero of wood glues.
- Drying time: Most need 24 hours to fully cure, but check the label. Quick-dry options exist, but they might not hold up as well long-term.
- Temperature matters: If your bathroom feels like a sauna or an icebox, adjust. Glue hates extremes. Aim for room temp (65–75°F) if you can.
Pro tip: If you’re working on a budget, don’t cheap out here. A $5 glue might cost you another weekend fixing leaks later. Trust us—we’ve been there!
Hacks to Make Wood Glue Dry Faster (Without Ruining Your Project)
Waiting sucks. Here’s how to speed things up safely:
- Dehumidify: Run a dehumidifier or fan. Less moisture = faster drying. Easy peasy.
- Clamp it right: Use clamps to hold pieces snugly. But don’t crank them too tight—you’ll squeeze out all the glue!
- Warm it up: A space heater (kept at a safe distance) can help. Just don’t turn your bathroom into an oven.
Picture this: Sarah in Seattle tried gluing a cabinet door in her rainy-season bathroom. It took two days to dry. Next time, she ran a fan overnight—done by morning. Small changes = big wins.
Mistakes That’ll Make You Hate Wood Glue Forever
Avoid these face-palm moments:
- Rushing the cure time: Just because it’s dry to the touch doesn’t mean it’s ready. Wait the full 24 hours, even if it hurts.
- Ignoring gaps: Glue isn’t a miracle filler. If your wood pieces don’t fit tight, sand or trim them first.
- Using old glue: That crusty bottle from 2012? Toss it. Expired glue won’t stick to anything but your regrets.
Need more info? Check out this DIY guide or the Woodworking Society’s tips. Both are gold mines for bathroom projects.
Wrapping Up: Wood glue in bathrooms doesn’t have to be a headache. Choose the right adhesive, control the environment, and give it time. At HomeCrt, we’re all about helping you nail these projects without the stress. Remember, patience pays off—your future self will high-five you when that shelf stays put for years. Got questions? Hit us up at homecrt.com. Now go fix something!


