So you want to turn those tiny periwinkle seeds into a carpet of pretty purple or white flowers, huh? Maybe you’ve tried before and ended up with sad sprouts that never took off. Or maybe you’re staring at a seed packet thinking, “How hard could this be?” (Spoiler: Not too hard—if you know the tricks.) At GreenThumb Magic, we’ve helped plenty of folks like you grow periwinkles from scratch, whether they’re sprucing up a backyard in Texas or adding color to a Midwest garden. Let’s break it down step-by-step, so you’ll have blooms that’ll make your neighbors peek over the fence.
Why Periwinkles Are Worth the Effort
Periwinkles aren’t just another pretty face. These flowers are tough cookies. Imagine your friend who somehow keeps plants alive despite forgetting to water them for weeks—that’s a periwinkle. They thrive in heat, handle dry spells like champs, and bloom all summer. Plus, they’re great at fighting weeds. Think of them as the low-maintenance roommate your garden never knew it needed. At GreenThumb Magic, we love them because they’re perfect for busy folks who want beauty without babysitting.
Getting Your Seeds Ready: Timing is Everything
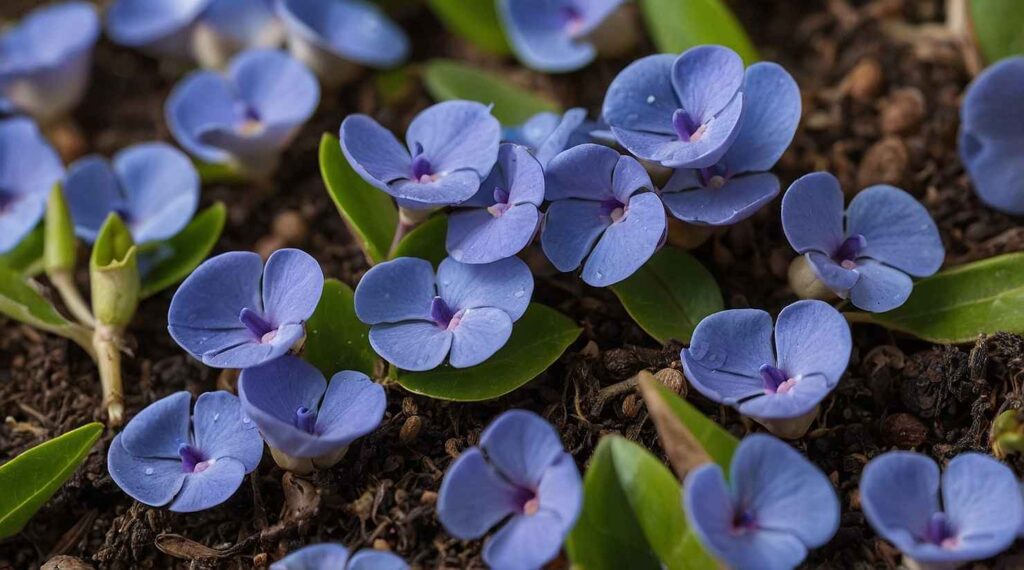
Timing your planting is like catching the right wave. Start seeds indoors 10-12 weeks before your last frost date. If you’re in, say, Georgia, that might mean starting in February. But if you’re up in Minnesota, wait until April. Use a seed tray with drainage holes (old yogurt containers work in a pinch!) and sprinkle seeds on top of moist soil—don’t bury them! They need light to wake up. Keep the soil damp, not soggy, and cover the tray with plastic wrap to create a mini greenhouse. Once sprouts pop up, ditch the plastic and give them lots of sunlight or a grow light.
Transplanting Like a Pro
When your seedlings have 2-3 leaves, it’s go-time. Harden them off by putting them outside for a few hours each day, gradually increasing time over a week. Pick a spot with well-draining soil—periwinkles hate wet feet. Space them 6-8 inches apart so they’ve got room to spread. Pro tip: Mix compost into the soil before planting. It’s like giving your flowers a vitamin boost. If you’re dealing with clay-heavy soil (looking at you, Oklahoma!), add sand or perlite to improve drainage. Water gently after planting, but don’t drown them!
Keeping Them Happy All Season
Once established, periwinkles are pretty chill. Water only when the soil feels dry. Overwatering = root rot = sad plants. Fertilize once a month with a balanced liquid feed, but go easy—too much and you’ll get leaves instead of flowers. Watch for slugs (eggshell barriers work wonders) and pinch off dead blooms to encourage new ones. By late summer, you’ll have a sea of color that even the local deer might ignore (fingers crossed).
To dig deeper, check out these guides from The Old Farmer’s Almanac and USDA Plant Hardiness Zones.
Wrapping It Up
Growing periwinkles from seeds isn’t rocket science, but it does need a little know-how. Start early, give them light, and don’t over-love them with water. Whether you’re filling gaps in a flower bed or covering a slope, these flowers deliver big rewards for minimal work. At GreenThumb Magic, we’re all about helping you grow smarter, not harder. Now go get those hands dirty—your future garden self will thank you!