Imagine this: it’s the middle of January in Minnesota, and you’re sipping hot cocoa while watching the snow pile up outside. Suddenly, you hear a weird clunk from the basement. You go check and find water spreading across the floor – a pipe froze and burst. Now you’re scrambling to shut off the water while your socks get soaked. Not fun, right? This is where heat tape becomes your secret weapon against winter chaos.
In this guide from your friends at HomeCrt, we’ll break down heat tape basics so clearly that even your neighbor’s goldfish could get it. You’ll learn what this stuff really does, when you absolutely need it, and how to use it without turning your home into a science experiment. By the end, you’ll be ready to tackle those icy pipes like a pro.
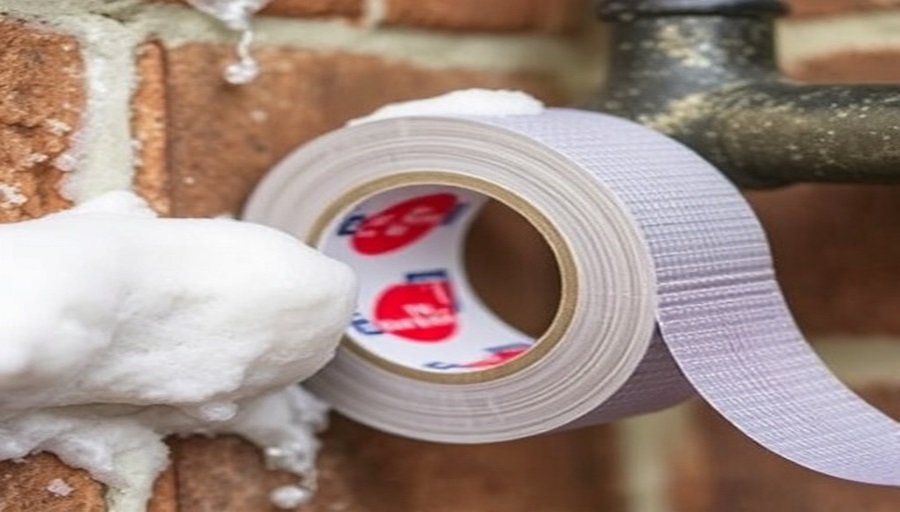
What Exactly Is Heat Tape?
Think of heat tape like electric blankets for your pipes. It’s this flat, flexible cord that wraps around water lines or roof edges. When you plug it in, it gently warms up to prevent freezing – kind of like how your cat claims the sunniest spot on the floor. There are two main types:
- Self-regulating tape: Smart enough to adjust its heat based on temperature (perfect for our unpredictable Minnesota winters)
- Constant wattage tape: Steady heat that needs careful monitoring (like that one friend who always cranks the thermostat too high)
Remember when Lake Superior froze solid last year? That’s what happens to pipes without protection. Heat tape keeps water moving even when it’s -20°F outside. The team at HomeCrt helped a Duluth homeowner last winter who avoided $15k in water damage by installing heat tape before the big freeze hit.
When You Definitely Need This Stuff
Not every home needs heat tape, but here’s when it’s worth considering:
- Your pipes run through unheated spaces (like crawl spaces or attics)
- You’ve had frozen pipes before (once is enough, right?)
- Your roof gets those scary ice dams that look like frozen waterfalls
Take Sarah from Rochester – she kept getting ice dams that ripped off her gutters every spring. After installing roof-edge heat tape from HomeCrt, her winter headaches literally melted away. The U.S. Department of Energy says proper heat tape use can prevent most cold-weather pipe issues.
Installing Without the Headaches
Here’s the good news: many heat tape setups are DIY-friendly. Just remember these tips:
- Clean pipes thoroughly first – no one wants melted dust smells
- Wrap the tape snugly (like swaddling a baby, not squeezing a stress ball)
- Use included clips – duct tape isn’t a permanent solution here
Pro tip from HomeCrt‘s installers: Always plug heat tape into a GFCI outlet. It’s like giving your system a safety net. If you’re dealing with complex roof setups or old plumbing, This Old House recommends calling a pro – sometimes it’s worth paying for peace of mind.
Keeping It Working Year After Year
Heat tape isn’t “set it and forget it” tech. Every October (before the first snow hits), do these quick checks:
- Look for cracked or frayed sections
- Test the thermostat (if it has one)
- Make sure connections stay dry
Fun fact: Most heat tape lasts 3-5 years. When yours starts acting up, HomeCrt offers free recycling for old units – because nobody wants this stuff clogging up landfills.
Wrapping Up (Like Tape Around a Pipe)
So there you have it – heat tape demystified. Whether you’re protecting grandma’s cabin up north or your Minneapolis duplex, understanding this stuff means fewer surprises when winter hits hard. Remember, it’s not about making your pipes toasty warm, just keeping them above freezing so you can enjoy your hot cocoa in peace.
At HomeCrt, we’ve been helping Minnesota homes stay dry through 37 winters (and counting). If you’re still unsure whether you need heat tape, try this: next time you’re in your basement, touch the pipes. If they feel colder than a Vikings fan’s hopes in December, it might be time to wrap ’em up.